Branding Settings
The Branding Settings page lets you customize how your studio looks across StudioBase -- from your public page to the embedded booking widget.
To access it, go to Dashboard > Settings > Branding.
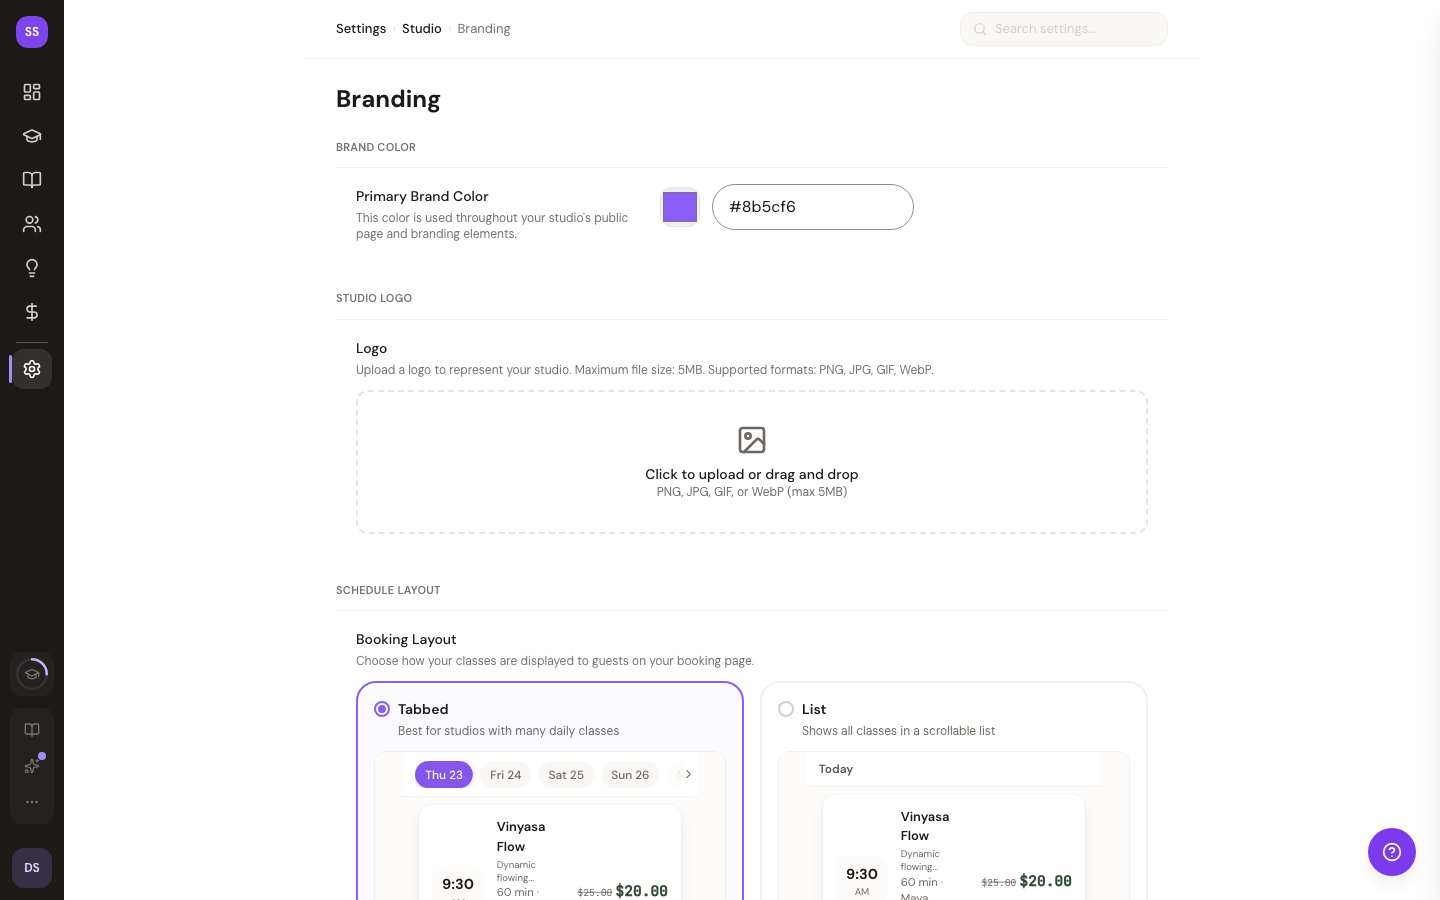
Brand Color
Your brand color is applied throughout your studio's public page and branding elements, including the embed booking widget.
- Use the color picker to visually select a color, or type a hex value directly into the text input (e.g.,
#8b5cf6). - The default brand color is #8b5cf6 (a medium purple).
Changing your brand color here automatically updates it everywhere it is used, including the embed widget if you have one installed on an external site.
Studio Logo
Upload a logo to represent your studio. The logo appears on your public studio page.
Uploading a Logo
You can upload a logo by clicking the upload area or by dragging and dropping an image file onto it.
| Requirement | Details |
|---|---|
| Formats | PNG, JPG, GIF, or WebP |
| Max file size | 5 MB |
| Auto-resize | Images larger than 1024px in any dimension are automatically resized down |
After uploading, a preview of your logo is displayed on the settings page.
Replacing or Removing a Logo
Once a logo is uploaded, two buttons appear below the preview:
- Replace Logo -- Opens the file picker to upload a new image in place of the current one.
- Remove Logo -- Deletes the current logo. You will need to click Save Changes to persist the removal.
Schedule Layout
Choose how your classes are displayed to visitors on your booking page. Pick one of five layout cards — the Tabbed and List options include a live preview of your own schedule:
| Layout | What visitors see |
|---|---|
| Tabbed | One day at a time, browsed with a horizontal date scroller — best for studios with many daily classes |
| List | All classes in a scrollable list, grouped by date |
| Weekly grid | A 7-day grid — the classic wall-schedule look (desktop; phones fall back to Tabbed) |
| By instructor | The selected day's classes grouped under each instructor's photo and name |
| By type | The selected day's classes grouped into sections by category |
Your pick only sets the layout visitors land on — it doesn't lock them in. Every layout includes a view switcher (Day / Week / By instructor / By type / List — the Week option only appears on desktop-width screens, so phones show four options) and category and instructor filter chips, so visitors can always browse a different way. Selecting a card saves automatically; there's no separate Save button for this setting.
You can also link straight to a specific view with a ?view= parameter on your booking page URL, for example https://www.studiobase.org/s/your-subdomain?view=instructor. Accepted values are day, list, week, instructor, and category — anything else falls back to your studio's default layout.
Saving Your Changes
At the bottom of the page you have two options:
- Save Changes -- Saves your brand color and logo settings. Disabled while a logo upload is in progress.
- Reset -- Discards unsaved changes and reloads the last saved values.
A confirmation message appears briefly after a successful save.
Tips
- Choose a color with good contrast. Your brand color is used for buttons and accents on your public page, so pick something that is easy to read against a white background.
- Use a simple logo. Logos with clean lines and minimal text reproduce best at the sizes used on your studio page.
- Check your public page after saving. Open your studio's public URL to see how your brand color and logo look together.
Need Help?
Contact support at support@studiobase.org if you have questions about your branding settings.