Studio Setup
The studio setup step is where you create your studio and choose your booking page URL. This is the second step of onboarding.
What You Enter
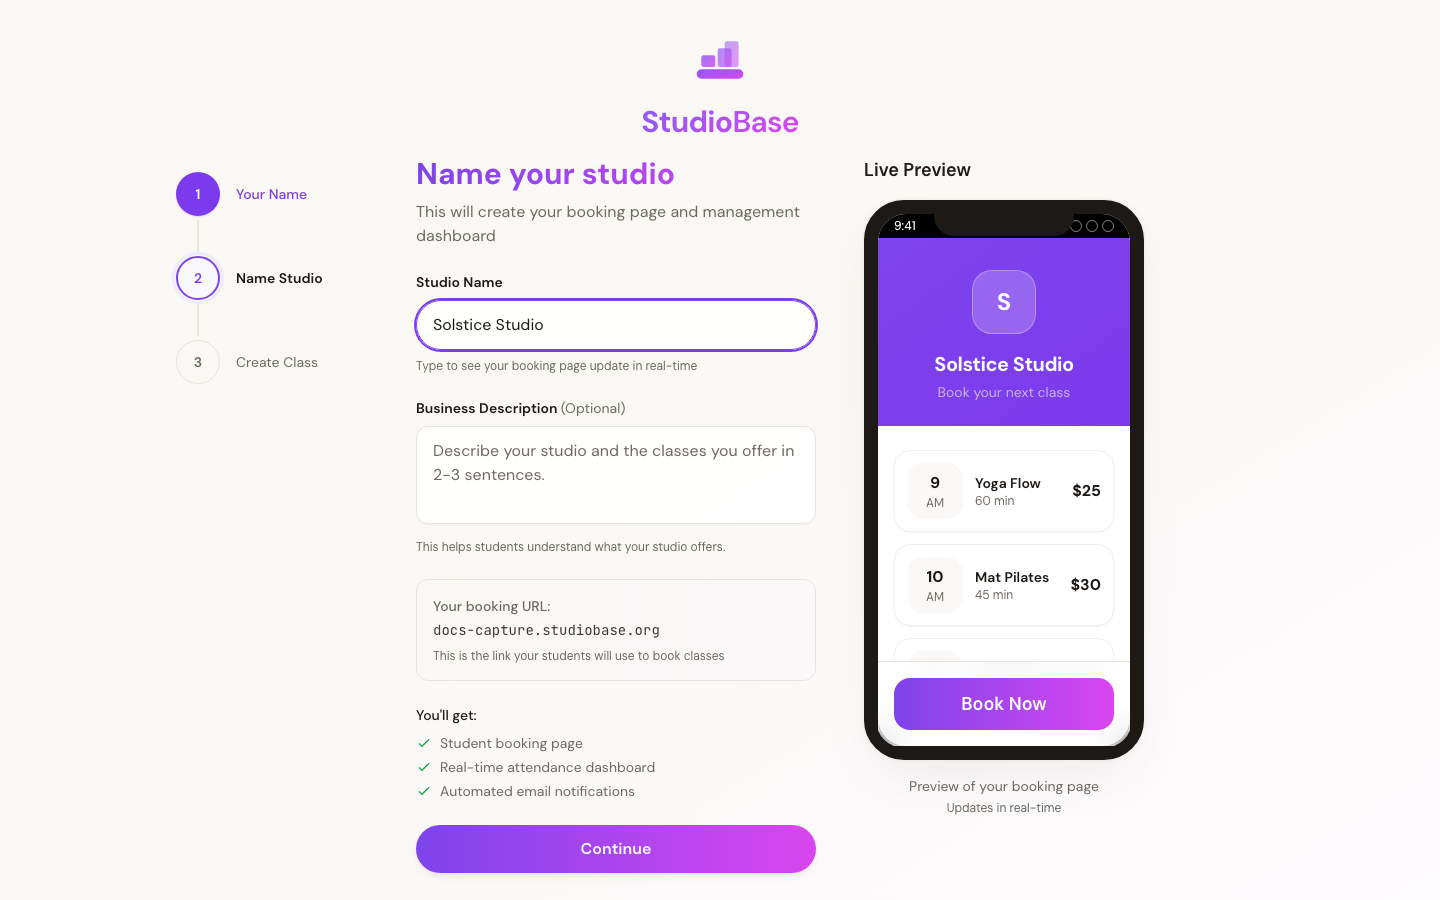
Studio Name
Choose a name for your studio (up to 50 characters). This is what students see when they visit your booking page.
Business Description
Optionally add a short description (up to 500 characters) of your studio. This helps students understand what you offer.
Booking URL
Your studio gets a unique booking URL based on your studio name. The URL is automatically generated in the format yourstudio.studiobase.org. You can customize the subdomain if the auto-generated one doesn't fit.
A live preview shows how your booking page URL will look.
Live Preview
As you type, a mobile preview on the right side of the page shows how your booking page will appear to students. This updates in real-time so you can see the result before proceeding.
What Happens Behind the Scenes
- Your studio is created with a free Starter tier trial
- Your browser timezone is automatically detected and saved
- A Stripe account is pre-created in the background for payment processing
Next Step
After setting up your studio, you'll move to Class Creation where you create your first class.
Already Started?
If you've already begun onboarding and return to this page, your previous entries will be pre-filled so you can pick up where you left off.