Add a Class
Creating a new class in StudioBase takes just a few steps. You can start from a saved preset for speed or build a fully custom class from scratch.
Getting Started
From your dashboard, click the Add Class button to navigate to the add class page (/dashboard/add-class).
Step 1: Choose Your Creation Mode
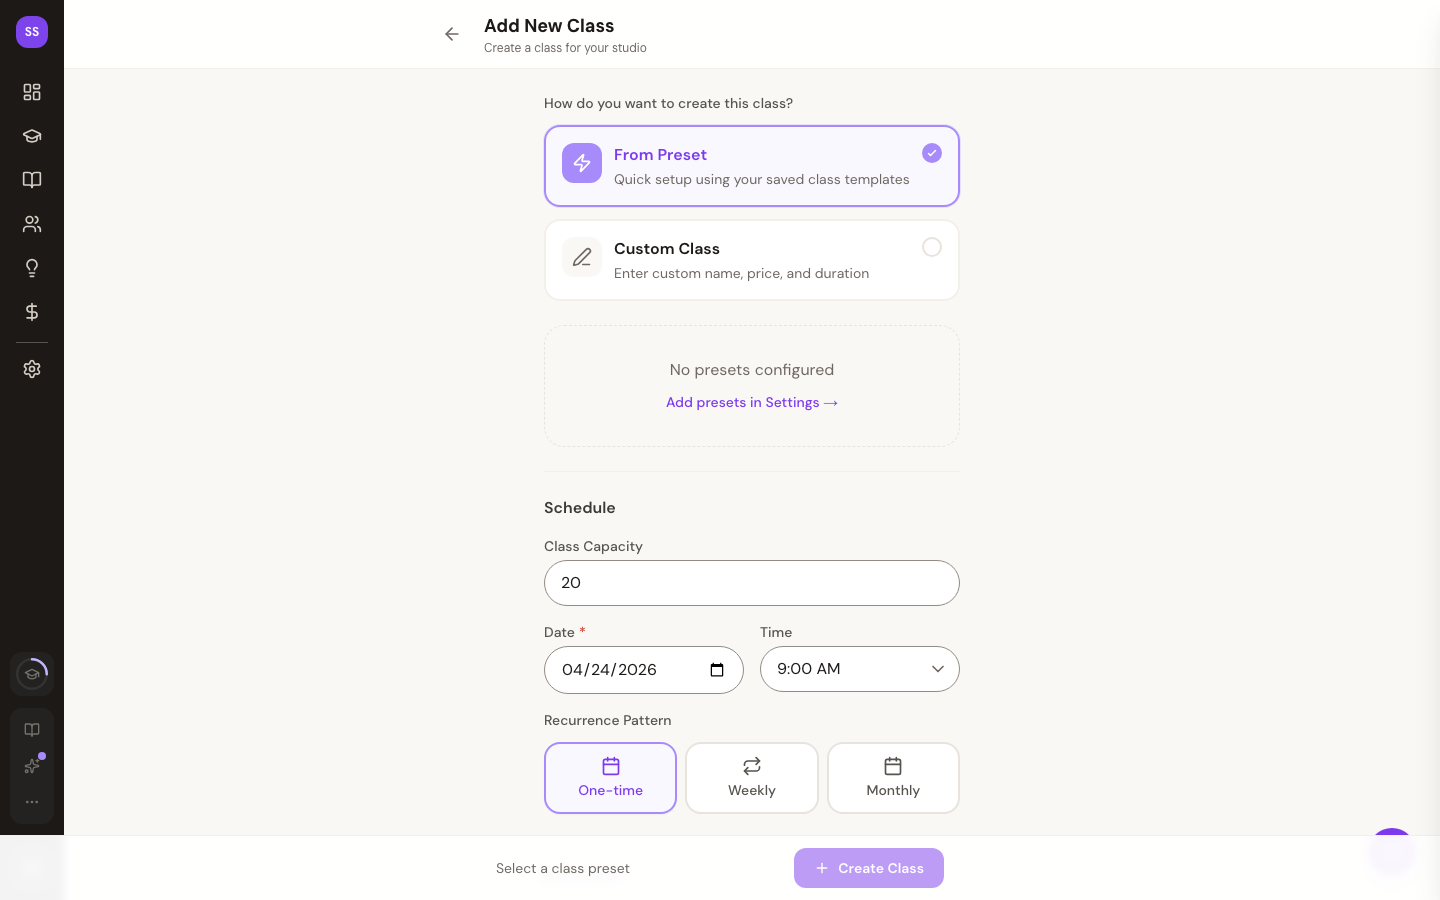
You will see two options at the top of the form:
- From Preset -- Use a saved class template. Presets pre-fill the name, duration, price, and default time so you can schedule quickly.
- Custom Class -- Enter a custom name, price, and duration from scratch.
Using a Preset
If you select From Preset, your saved class presets will appear as a list of cards. Each card shows the preset name, description, duration, price, and default time. Tap a preset card to select it. The time will be pre-filled with the preset's default, but you can adjust it in the Schedule section below.
If you have no presets configured yet, you will see a prompt to add them. Navigate to Settings > Class Presets to create your first preset. Each preset stores a name, duration, price, default time, and an optional description.
Using Custom Class
If you select Custom Class, you will fill in the following fields:
| Field | Required | Details |
|---|---|---|
| Class Name | Yes | A descriptive name for the class (max 100 characters) |
| Description | No | A brief summary of what students can expect (max 500 characters) |
| Price ($) | Yes | The price in whole dollars (minimum $1, stored internally as cents) |
| Duration (min) | Yes | Length of the class in minutes (minimum 15 minutes) |
Step 2: Set the Schedule
Both preset and custom classes share the same scheduling section:
- Class Capacity -- The maximum number of participants (1 to 500, defaults to 20).
- Date -- Must be a future date. Defaults to tomorrow.
- Time -- Select from a dropdown with hourly slots from 6:00 AM to 8:00 PM.
Recurrence (Optional)
Below the date and time, use the Recurrence Pattern selector to choose how the class repeats:
- One-time -- The class happens once on the selected date.
- Weekly -- The class repeats on specific days of the week. Select one or more days using the day buttons. Choose an end condition: after a set number of classes, on a specific date, or never (capped at 52 weeks).
- Monthly -- The class repeats monthly. Choose an end condition the same way as weekly.
A preview will show you a summary of all the dates that will be generated.
Step 3: Assign an Instructor (Optional)
In the Instructor section, select an instructor from the dropdown. Only active instructors from your studio are listed. If you have not added any instructors yet, or prefer to assign one later, leave this set to "No instructor assigned."
Instructors can be managed in Settings > Instructors.
Step 4: Save Your Class
Tap the Create Class button in the floating bar at the bottom of the screen. A summary of your selection (class name and price) appears next to the button for quick confirmation. Once saved, you will be redirected to your dashboard where the new class appears on your schedule.
Tips
- Set up presets first. If you teach the same types of classes regularly, create presets in Settings to save time when scheduling.
- Set realistic capacity. Consider your studio space, equipment, and instructor comfort when choosing a class size.
- Use recurring classes. For weekly schedules, use the weekly recurrence option instead of adding each class individually.
- Plan ahead. Schedule classes at least a few days in advance so clients have time to discover and book them.
- Write clear descriptions. Even though the description is optional, a good summary helps clients decide whether a class is right for them.
Need Help?
Contact support at support@studiobase.org if you have questions about setting up classes.